
Materials:

-Snaps (or you could substitute Velcro or a button)
Step One:

You are going to need to figure out how much fabric you need. So get out your device and measure its width, height, and length.
A 3DS is roughly 3 inches wide, by 5.5 inches long, and 1 inch tall. So that means that I am going to cut my pieces to be 4.5 inches by 6.5 inches to allow for the height of the 3DS and to allow for a 1/4th of an inch seam allowance.
Step Two:

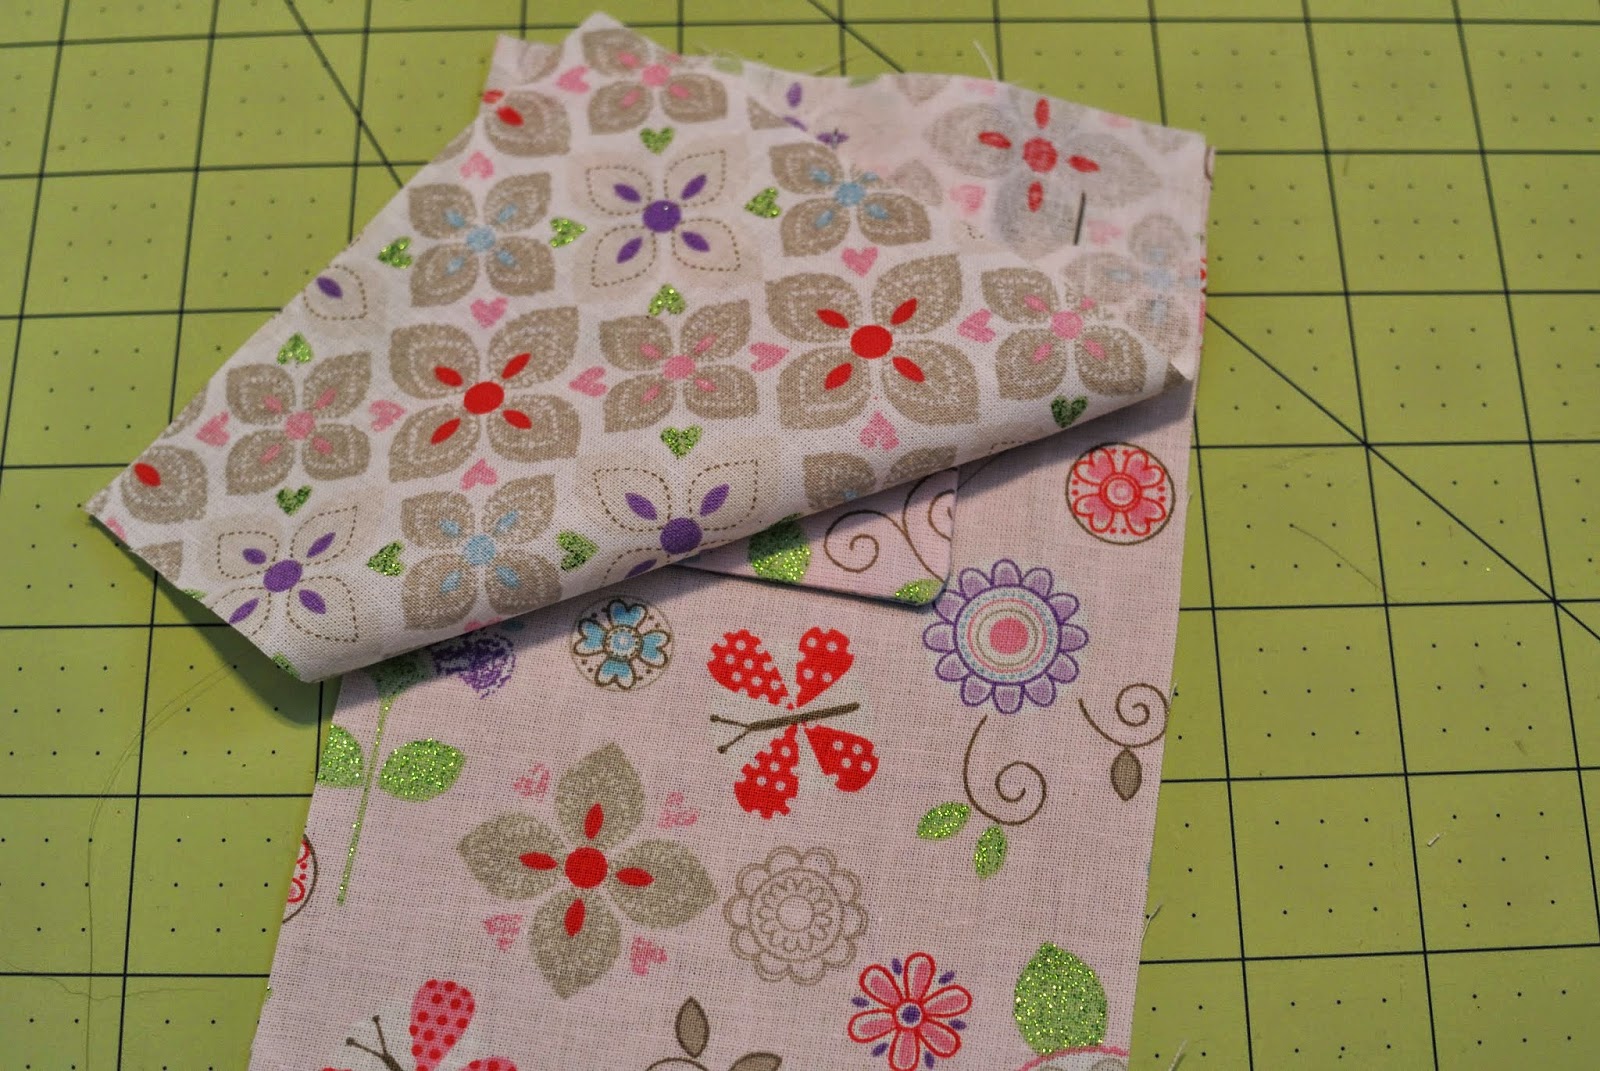
Cut two pieces of each fabric to be 4.5 inches by 6.5 inches. Then cut two pieces of the outer fabric to be 2.5 inches by 3.5 inches for the flap that secures it.

Place the two flap pieces right sides together and sew along the sides and bottom, but make sure to leave the top open.
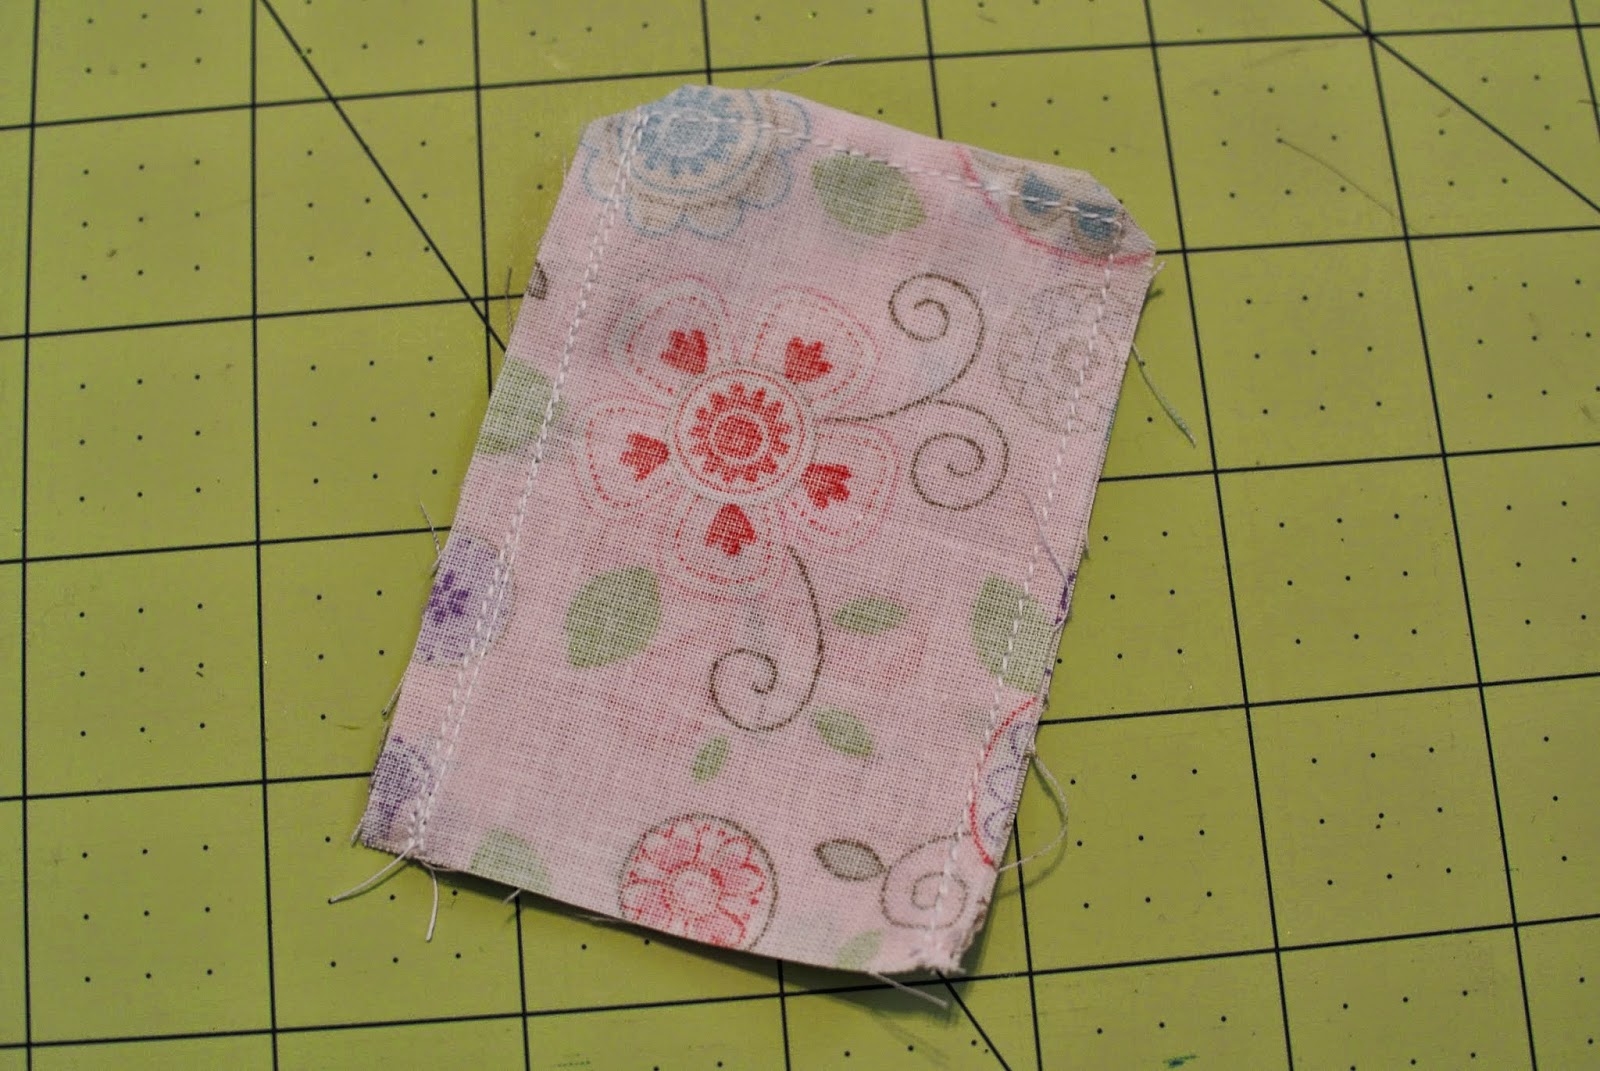
After you have sewed around the three sides, trim any excess fabric of the edges to cut down on bulk when you flip it right side out.

Flip the two flap pieces right side out and iron them flat.
Step Four:

Center the flap piece on top of one of the outer fabric pieces.
Place inner fabric down on top of the flap and outer piece with the right sides facing together.

Sew along the top edge only and trim the excess.

Repeat these same steps with the other outer and inner fabrics. Remember to only sew along the top edge and then trim your excess.
Step Five:

Iron the pieces open so that the seam sits under the inner fabric piece.

Lay the to fabric pieces right sides together.

Make sure that the center seam lines up before you pin everything together. It doesn't matter if the bottom or sides line up perfectly, we have a little room to work with, just make sure the center matches up.

Sew down the sides only of the two pieces. Make sure not to sew around the top or bottom edge yet, or you won't be able to get it turned back right side out.
Step Six:

Pull the outer fabric over the inner fabric so that you can see if everything is lined up right.

Put your device in there if you can to make sure everything fits before you sew all the remaining edges closed.
Step Seven:

Pull it back open so that everything is inside out again.

Start stuffing the outer fabric into the inner fabric.

Sew the bottom edge of the outer fabric and trim the excess.

Pinch the corners of the bottom together and sew across about a half of an inch.

Cut off the excess corners so that you have a boxed corner now.
Step Eight:

Put the outer edge into the inner fabric and pull everything through so that you end up with it pulled open with the right sides out.

This is what it should look like with everything right side out.

Now with the inner fabric right side out, sew along the bottom edge. Trim the excess.

Pinch the corners and sew about a half of an inch to create boxed corners just like with the outer fabric.
Step Nine:

Start shoving the inner fabric back into the outer fabric.

Make sure all the corners are pushed out.

Step Ten:

Now its time to add the snaps. Figure out where you want them to go and make sure everything is centered.

Make sure your snaps are nice and secure so that they don't pull out of the fabric when opening and closing them.

You are now officially done!

Put your device inside to make sure every thing fits and you are good to go.

If you have any questions, leave them in the comments and I will try to answer them for you.

0 comments:
Post a Comment